Telco & Internet Service Providers
FirstWave offers network management software that is designed to scale, and trusted by carriers globally - bringing network intelligence and automation to Telcos & Internet Service Providers.
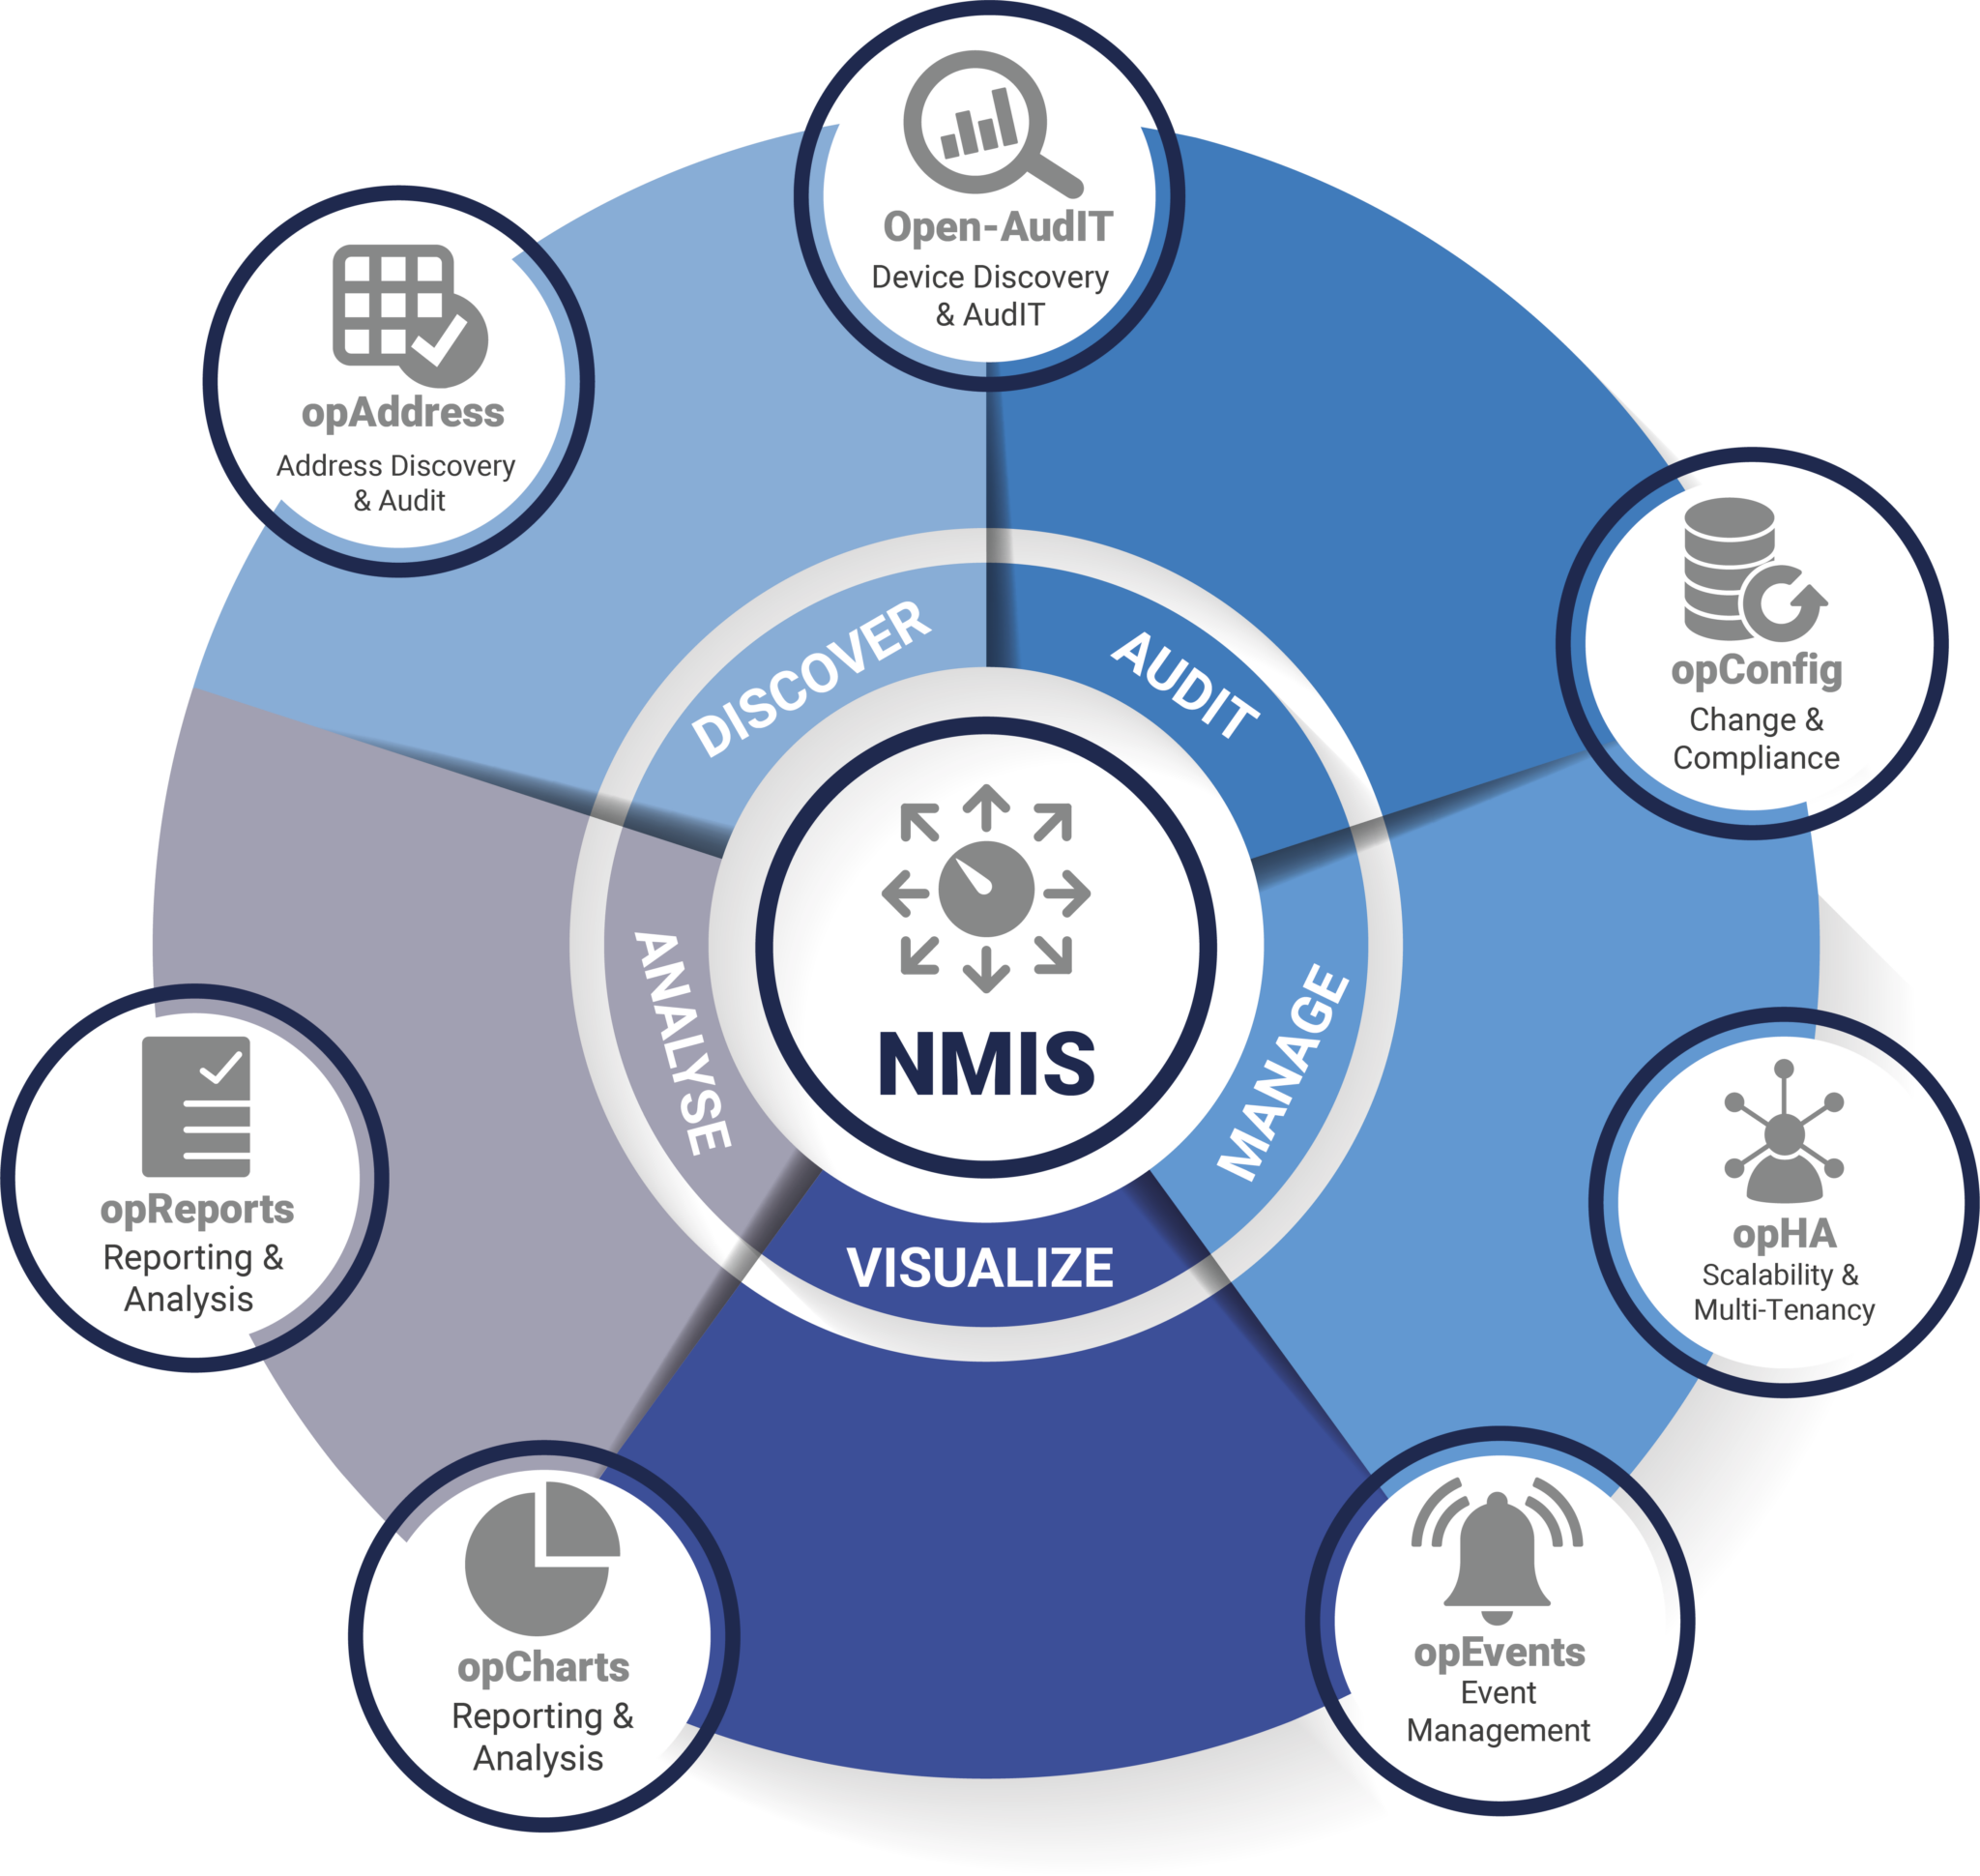
NMIS (Network Management Information System) is a complete network management system which assists with fault, performance and configuration management, providing performance graphs and threshold alerting as well as highly granular notification policies with many types of notification methods.
NMIS monitors the status and performance of an organization’s IT environment, assists in rectification and identification of faults and provides valuable information for IT departments to plan expenditure and IT changes.
We believe NMIS is the best network management software because our solution is comprehensive, scalable, and can be configured to your specific needs.
NMIS Benefits
Sophisticated business rules engine
Automated health live baselining
Visible operational impact
Pre-configured out-of-the-box solution
Massively scalable
Customizable alert escalation procedures
NMIS Features
Performance Management
Configuration Management
Faults and Events
Real-Time Monitoring
Business Rules Engine
NMIS’s Most Powerful Engine
Scalability
Escalation Management
Notification Management
Supported Devices
Distributed Monitoring
Easy Implementation
Accessibility
Easy to Use Interface
Find out how NMIS from FirstWave can improve your network management?
Free Download Book a callNetwork Management Information System (NMIS) is a tool for monitoring and managing all aspects of your network, and it works even better with FirstWave’s software modules.
FirstWave’s team can help you get a quote that meets your requirements. A 15-minute call is all it takes. This is not a sales call—it’s an opportunity for you to tell us about your organisation’s network management needs.
FirstWave’s Virtual Machine is an all-in-one package to allow you to begin taking control of your network without the hassle of setting up a server. To help you get started, download the FirstWave VM which includes NMIS along with all of our latest network management modules, or find the installer for just NMIS here.
This bundle includes NMIS 9, Open-AudIT 4, opCharts 4, opConfig 4, opEvents 4, opReports 4, opHA 3, opAddress 2.
The best part is that you can get a time-unlimited license for up to 20 nodes for each of these modules, absolutely free!
1. Download the FirstWave Virtual Machine
If you haven’t already, hit the download button to get the FirstWave VM.
The virtual machine comes as an uncompressed .ova (Open Virtual Appliance) package, just over 1GB in size. Unless you have specific needs, we recommend you download the latest build.
2. Open your hypervisor
A hypervisor is a piece of software used to run virtual machines. FirstWave provides instructions for running our Virtual Machine on most popular hypervisors—but if you’ve never used a hypervisor before, we recommend the free VirtualBox solution, which you can download here.
4. Deploy the FirstWave Virtual Machine
The specific method of deploying the FirstWave Virtual Machine depends on your hypervisor. This page offers installation guides for VirtualBox and VMware Desktop Applications.
If you are deploying on another hypervisor, please use the appropriate guide:
To use OVF/OVA files with other virtualisation systems like KVM you may have to convert the OVF file to a native format; Two well-known tools for this purpose are virt-v2v (available in CentOS6/RHEL) and virt-convert (in Debian).
If you have the VM already deployed you can jump to Section 5.
3a. Deploy on VMware
Go to File –> Open and select the FirstWave Virtual Machine .ova package you just downloaded. The Virtual Machine should import with all settings automatically.
Ensure that you have granted Accessibility permissions in System Preferences for VMware to allow the Virtual Machine to run properly.
4a. Run the Virtual Machine
Now that you’re all set up, you’re ready to run the Virtual Machine. In VMWare’s Desktop applications, this is done by pressing the triangular “Play” button.
You can jump to Section 5.
3b. Deploy on VirtualBox
This guide shows screenshots of the macOS version of VirtualBox (6.1). For Windows and Linux equivalent screenshots, please visit the FirstWave Wiki here.
In VirtualBox, go to File>Import Appliance, and then select the FirstWave Virtual Machine .ova package you just downloaded. Select the FirstWave Virtual Machine once it’s loaded into the left sidebar of the application. Then, click on the yellow “Settings” cog. You will need to change four separate settings to allow the FirstWave Virtual Machine to run correctly. The first setting we’ll change can be found under the System tab. You need to ensure that the hardware clock is in UTC time, as below:
Second, select Display settings, and ensure you have allocated at least 16MB of Video Memory, and that the Graphics Controller is set to “VMSVGA”, as below:
Then, select Storage settings, and ensure that “Use Host I/O Cache” is selected, as below:
Finally, select Network settings, and ensure that Adapter 1 is attached to “Bridged Adaptor”, as below:
4b. Run the Virtual Machine
Now that you’re all set up, you’re ready to run the Virtual Machine. In VirtualBox, this can be done by clicking the green start arrow.
If the text is too small to read, go to Virtual Box’s View settings and select Scaled Mode, which will allow you to resize the window to your preference.
Please note that when you click within the Virtual Machine, your cursor will disappear and you will not be able to interact with your OS until you press the Host key on your keyboard. By default this key is set to Left Command ⌘ on Mac, <<<>>> on Windows, and <<<>>> on Linux.
5. Log in to the FirstWave Virtual Machine
Congratulations! You should now be running the FirstWaveVirtual Machine. You’re almost there. The login screen should have loaded in the Virtual Machine.
The authentication credentials are as follows:
User: root
Password: NM1$88
Enter these details as prompted to initialize the Virtual Machine.
You will see the IP address displayed.
The default hostname for the virtual machine is omk-vm9-centos7.
Good news! Each of FirstWave’s network monitoring software modules offer a free time-unlimited 20-node license. The first time you open each program, you will be given the opportunity to activate a free license.
Time-limited trials are also available if you want to test the software on a larger network, and licenses for running FirstWave’s software modules on larger networks are available by request.
1. Download, Install and Run.
If you haven’t already, hit the download button above and download the Virtual Machine. From there go to the URL http://your-ip-address/omk (using your-ip-address from above).
Click Add Nodes on the left side menu and you will be prompted to log in. The default credentials are: Username: nmis Password: nm1888
The localhost node will have been added by default.
Click the blue + icon to add a node.
You can set a custom name for any node, and enter the IP address, SNMP type and SNMP community. There are also lists of select Locations and Groups which you can use to classify your nodes. If you don’t see an appropriate Group or Location, don’t worry—you can customize these lists later. Try adding your router first, and then repeat these steps for as many nodes as you would like.
3. Congratulations!
You are now monitoring nodes on your network!
Now you can select NMIS or opCharts and view the data you need to effectively monitor the devices on your network.
For more detailed information on configuring the applications on the VM, please see the FirstWave Wiki.
General FAQs
NMIS is an abbreviation for Network Management Information System.
NMS is an abbreviation for Network Management System.
An NMS is a system designed for monitoring, maintaining, and optimizing a network. Both hardware and software are required for this system and NMIS is an example of a leading software network management system.
A network management system comprises of both hardware and software components that monitor, maintain and optimize a network. Network management software is the software component of this system.
Network management software will monitor, maintain and optimize your data network. NMIS will constantly collect and analyze data, remediate events automatically and push out configuration changes for improving performance, reliability, and security.
Wireless network management software is NMS that is suited towards a wireless network environment. Although most NMS systems have this capability, for an NMS to be suited it will have to be flexible enough to manage any device easily, such as NMIS.
A NMS needs to be suitable to your environment, they must be able to manage all your devices, have support that suits your operating hours, be able to easily scale to your environment and add/remove devices easily. We believe NMIS is the best network management software because our solution is comprehensive, scaleable, and can be customized to your specific needs.
The main advantage is that without one, you will not have any visibility over your network and will rely on end users to inform you of problems. As NMIS is an open source NMS, you will not need to purchase a license, so there is no reason to not have one.
This is an NMS that is built upon an open source core. This is preferable to most organizations because it allows for incredible flexibility inside your network environment while also being more secure.
NMIS has been open source since its inception in 1998. You can follow along with any updates on GitHub.
Ready To Take the Next Step with NMIS?
Book in your custom demo with one of our software specialists to see the power of our network solutions in action. All demonstrations are interactive, personalized, and free.
For Further Information
FirstWave Head Office
FirstWave Technical Support
Support Email
FirstWave Sales Support
Sales Email
Find out how FirstWave can scale your network
management and cybersecurity of your business?